Cooking with already vaporized bud is a great way to stretch your stash, it’s not the tastiest way to cook with cannabis though. Instead of choking down an AVB sandwich take the time to water cure your AVB, the end product will be much tastier.
What Is Water Curing and What Does It Do?
Water curing AVB helps reduce some of that nasty taste and aroma without affecting the potency of the product.
Think of water curing like making a cup of tea. If you reuse the same tea-bag a few times the flavor will become less and less powerful. Cooking with AVB isn’t about infusing the burnt flavor into food, it’s about infusing it with the numerous cannabinoids that get you feeling groovy.
How To Water Cure AVB
Water curing is a very simple process that requires little else but time. You can water cure your bud in as little as a few hours, or as long as a week. We don’t suggest water curing AVB for any longer than a week though, as mold growth could become an issue. I found that a few days was the sweet spot.
What You’ll Need:
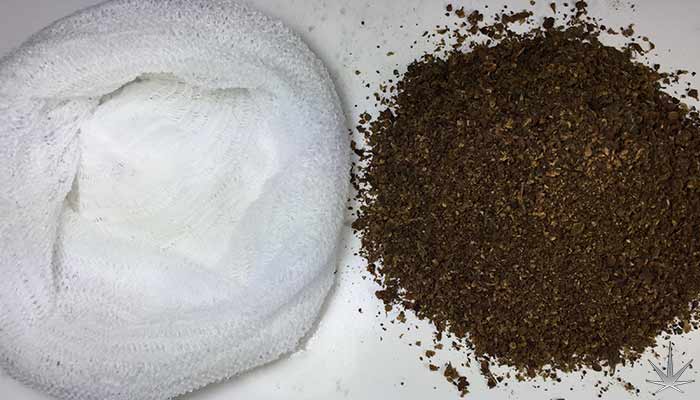
- 1 oz (or more) of Already Vaporized Cannabis
- Cheesecloth
- Large bowl
- Glass plate
- Baking sheet
Method:
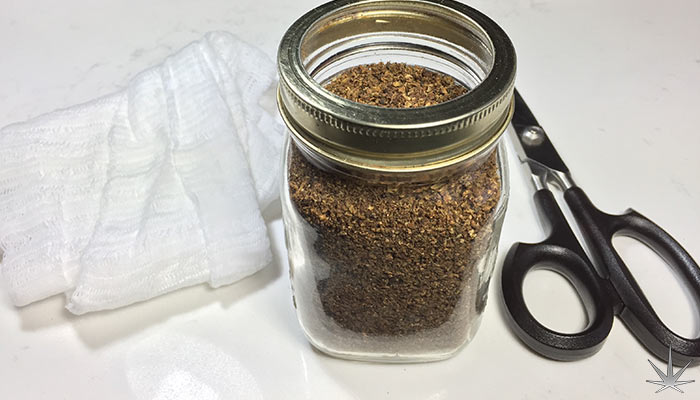
- You’ll need to cut the cheesecloth into a few squares. These will be used to wrap up the AVB, like making a giant homemade tea bag. Use a few pieces per satchel to ensure you won’t lose any AVB through the mesh.
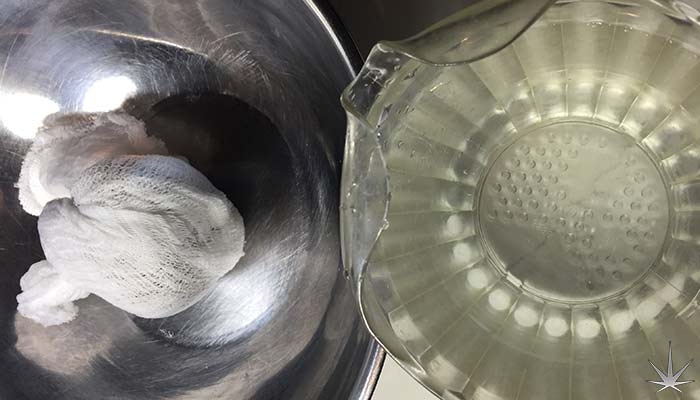
- Place the AVB on the cheesecloth and tie up the ends. Repeat this step a couple of times so there are no gaps or spaces where AVB can slip through.
- Put the satchel in a deep bowl and place a plate on top so it won’t float around.
- Pour room temperature water into the bowl until the satchel is completely covered. The more water the better.
- Let everything sit for a couple of hours.
- Pour out the dirty water and refill the bowl. Repeat this every few hours for the first day, or whenever you see the water getting brown and murky. After the first day you won’t need to change the water quite as often, I changed it twice daily after the first day.

- After the water curing process is complete, remove the cheesecloth package from the bowl and let the water drain out.
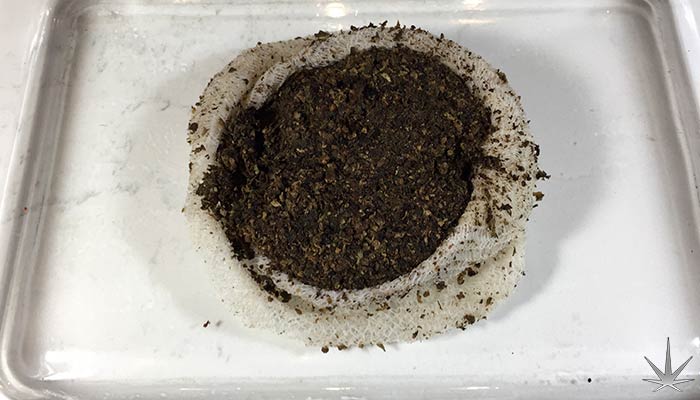
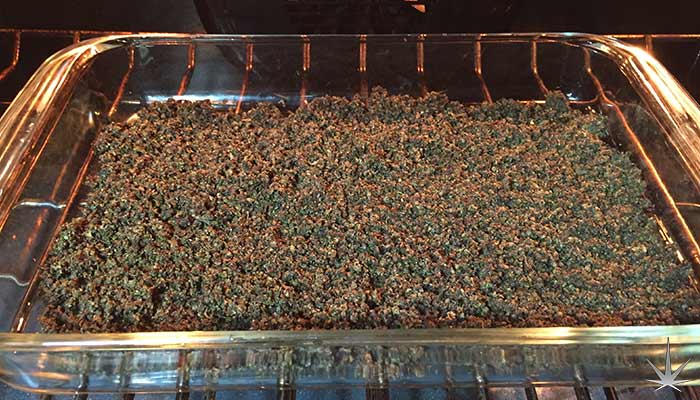
- Place the satchel on a large baking sheet or casserole dish and open it up. Pour out all the waterlogged AVB and evenly cover the dish.
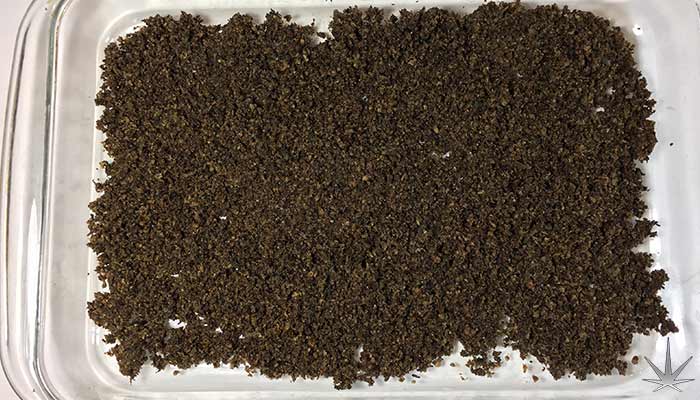
- Preheat your oven to ~200° F and place the dish on the middle rack. This step is all about drying the AVB out so that it doesn’t get moldy. If you’re planning on cooking with it immediately after water curing you can skip this step.
I keep the oven door open slightly to maximize airflow and hasten the process. Give the AVB a mix every 30 minutes or so to allow everything to dry out evenly and quickly. It took about 2 hours to dry the AVB completely, this will vary though, just be sure there is no more moisture.
Final Words
The ‘recipe’ above calls for 1 oz of AVB, but any amount will work. I used just shy of 2 ounces for the purposes of this article. If you’re going to be water curing more than 2 ounces of AVB I’d suggest creating multiple pouches to maximize surface area.
Water curing will HELP to get rid of the smell and flavor of the AVB, but it won’t eliminate it completely. Keep this in mind when you decide to cook with your water cured bud, it will still smell to some degree.
That’s it! Now get cooking and enjoy the ride.
How to make Vaporizer Stem Milk

 - 10 Free Seeds 300x250")